Overview
A 'hosts' file is a text file on your home computer. It is used to map a domain name to a specific server. If you edit it, you can change where your computer searches for a website.
For example, when you look up a URL in your browser, your computer sends out a query into the Internet to find where your site is located. Your site is located where your DNS is pointed to. If you edit the 'hosts' file, you can change where your computer searches for a website.
In this way you can view a site on your server when the DNS is pointed to another company.
Locate your A records
Each site at GreenixMedia has two A records for the URL. One for your domain with and without www. For example:
- 123.456.789.101 example.com
- 123.456.789.101 www.example.com
Make a note of these as you'll need to add the IP to your 'hosts' file in the next step.
Using Windows 7 & 8.1
On most Windows systems, you can find the hosts file in the following directory:
C:\Windows\System32\Drivers\etc
It might be set to hidden so make sure you have 'show hidden files' turned on.
Notepad is a basic text editing program that is already install on Windows. To open the 'hosts' file with Notepad, follow the steps below:
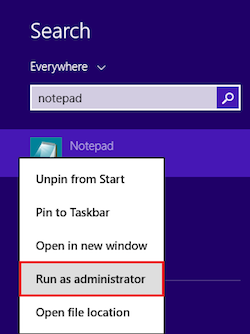
- Open the 'Start' menu.
- In the search box, type in 'notepad'.
- Right click on the 'Notepad' option and choose 'Run as administrator'.
- This opens a blank Notepad file
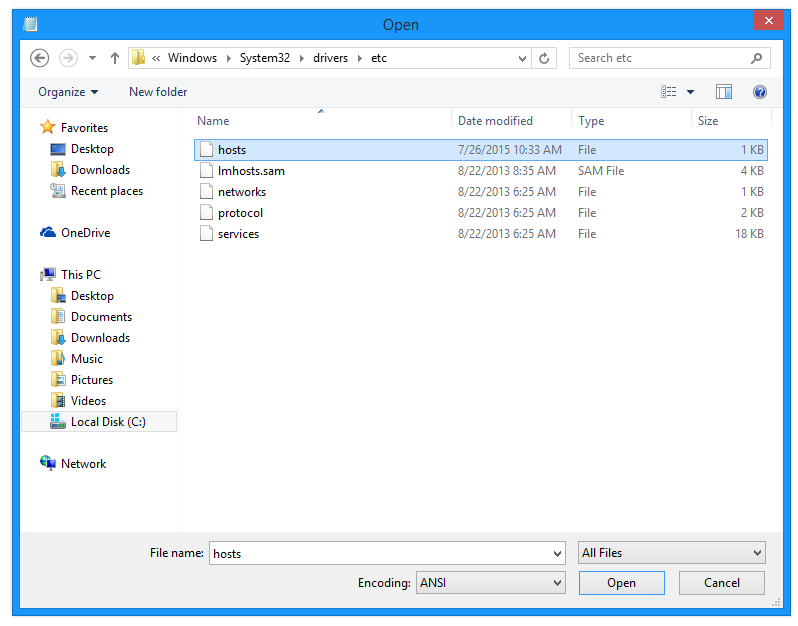
- On the top left of this blank file, click the 'File > Open...' menu option.
- In the 'Explorer' window, navigate to the C:\Windows\System32\Drivers\etc directory.
- Choose the 'hosts' file and click Open.
- At the bottom of the file, add your GreenixMedia site IP followed by the domain.
123.456.789.101 example.com
123.456.789.101 www.example.com - Save the file.
- Finally, make sure to flush your computer's DNS to ensure the new settings update.
- Flush DNS
- Restart your browser and try accessing your domain.
You can now view your site as it appears on your Greenixmedia server. Once you point your DNS to GreenixMedia, you can then remove these lines.
Using Windows 10
On most Windows systems, you can find the hosts file in the following directory:
C:\Windows\System32\Drivers\etc
Notepad is a basic text editing program that is already install on Windows. To open the 'hosts' file with Notepad, follow the steps below:
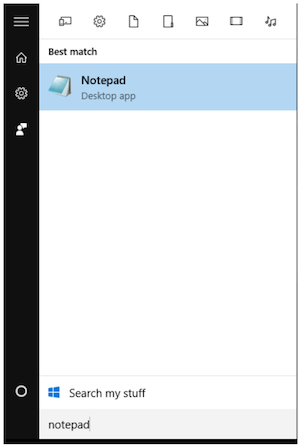
- Open the 'Start' menu.
- Start to type in the word 'notepad' and it will display the icon.
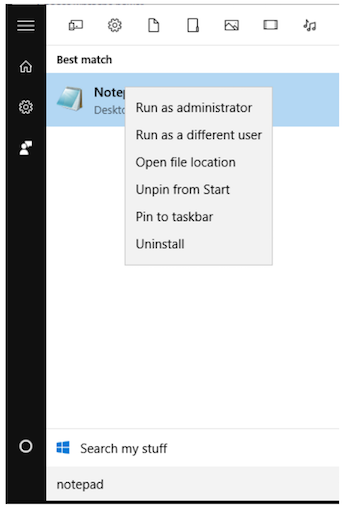
- Right click on the 'Notepad' option and choose 'Run as administrator'.
- You may receive a pop-up message titled “User Access Control” asking, “Do you want to allow this app to make changes to your PC?” Click Yes. This opens a blank Notepad file.
- On the top left of this blank file, click the 'File > Open...' menu option.
- In the 'Explorer' window, navigate to 'This PC'. Then to the C:\Windows\System32\drivers\etc directory.
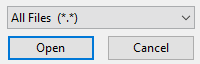
- Choose the 'hosts' file and click Open. You may need to change the “Text Documents (*.txt)” in the lower right to All Files in the dropdown list.
- At the bottom of the file, add your GreenixMedia site IP followed by the domain.
123.456.789.101 example.com
123.456.789.101 www.example.com - Save the file.
- Finally, make sure to flush your computer's DNS to ensure the new settings update.
- Flush DNS
- Restart your browser and try accessing your domain.

You can now view your site as it appears on your GreenixMedia server. Once you point your DNS to GreenixMedia, you can then remove these lines.
Using Apple Mac OS
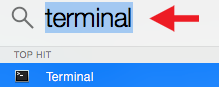
- Launch Terminal by pressing command (⌘) + spacebar which opens the search box.
- Type the word Terminal.
- Press the return key or click the Terminal icon beneath TOP HIT.
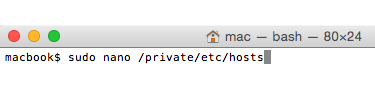
- This example uses the nano editor.
[server]$ sudo nano /private/etc/hosts
- Enter the administrator password. Note: Typed passwords are not displayed on the command line.
- Once the hosts file is open, use the arrow keys to navigate to the bottom to make any modifications.
- When finished, save and close the file to return to your terminal prompt.
- Finally, close Terminal when finished.


Make sure to flush your DNS to ensure the new settings update. Once you point your DNS to GreenixMedia, you can then remove these lines.
Using Linux
On most Linux-based systems:
- The hosts file can be located in the /etc/ directory.
- The hosts file is usually called hosts.
- The full path is /etc/hosts.
The steps to edit and save the file are the same as the 'Mac OS' instructions above.
If you must update something, make sure to document any change so we can separate what may have been affected by the migration from subsequent alterations on your end.
